DIY Painting Tips: 12 Pro Techniques for a Flawless Finish
Twelve professional painting tricks that separate a DIY paint job from one that looks contractor-done — prep, cutting in, roller technique, sheens, and cleanup.

Painting a room is the highest-return DIY project in a house — a $60 gallon of paint changes a space more than most $6,000 renovations. But amateur paint jobs look amateur, and it's rarely the paint's fault. These twelve techniques are what separate a weekend paint job that looks great from one you regret every time you walk in.
1. 80% of the job is prep
Every pro will tell you the same thing: prep takes twice as long as painting, and skipping it is why DIY jobs look DIY. A room properly prepped rolls out in an afternoon and looks perfect. A room painted over dust, grease, and unpatched holes will look bad the day you finish, forever. Budget the whole first day for prep; you'll paint in half the time on day two.
2. Clean the walls, really
Walls collect fingerprints, cooking grease (even in bedrooms), and dust. Wipe every wall with a damp microfiber cloth and a small amount of mild soap. Around switches and doorknobs, use a degreaser. Paint bonds to clean surfaces; on dirty ones it peels within a year. This step takes 30 minutes and saves a repaint.
3. Patch and sand smooth
Every nail hole, screw hole, and hairline crack gets patched with lightweight spackling compound. Overfill slightly, wait for it to dry, sand flush with 220-grit paper. Bigger holes need mesh tape + joint compound in two thin coats. Run your hand over the patched area — if you can feel it, you'll see it once painted.
4. Prime when it matters
Skip primer on similar-color repaints in good condition; use it on: raw drywall or wood, dark-to-light color changes, stained spots, and any wall with old oil-based paint. A stain-blocking primer (like Kilz or Zinsser BIN) also blocks water rings, marker, and smoke odors. Cheap paint + primer = still cheap paint.
5. Tape technique
Painter's tape works only if you press the edge firmly with a putty knife or your fingernail — this seals it and prevents bleed-under. Even better: after taping, brush a thin coat of the existing wall color along the tape edge. It seals the tape with matching color; when the new color bleeds, it bleeds under wall color, invisible. Remove tape while the paint is still slightly tacky for the cleanest line.
6. Cut in like a pro
"Cutting in" is painting the edges (ceiling line, corners, trim) with a brush before rolling. Use a 2.5-inch angled sash brush, load one-third of the bristles, and pull a line about 2–3 inches wide. Long smooth strokes; don't stop mid-line. Cut in one wall at a time and roll it immediately — this keeps the brush and roller edges wet so they blend seamlessly. Cutting in the whole room first leads to visible "picture-frame" edges.
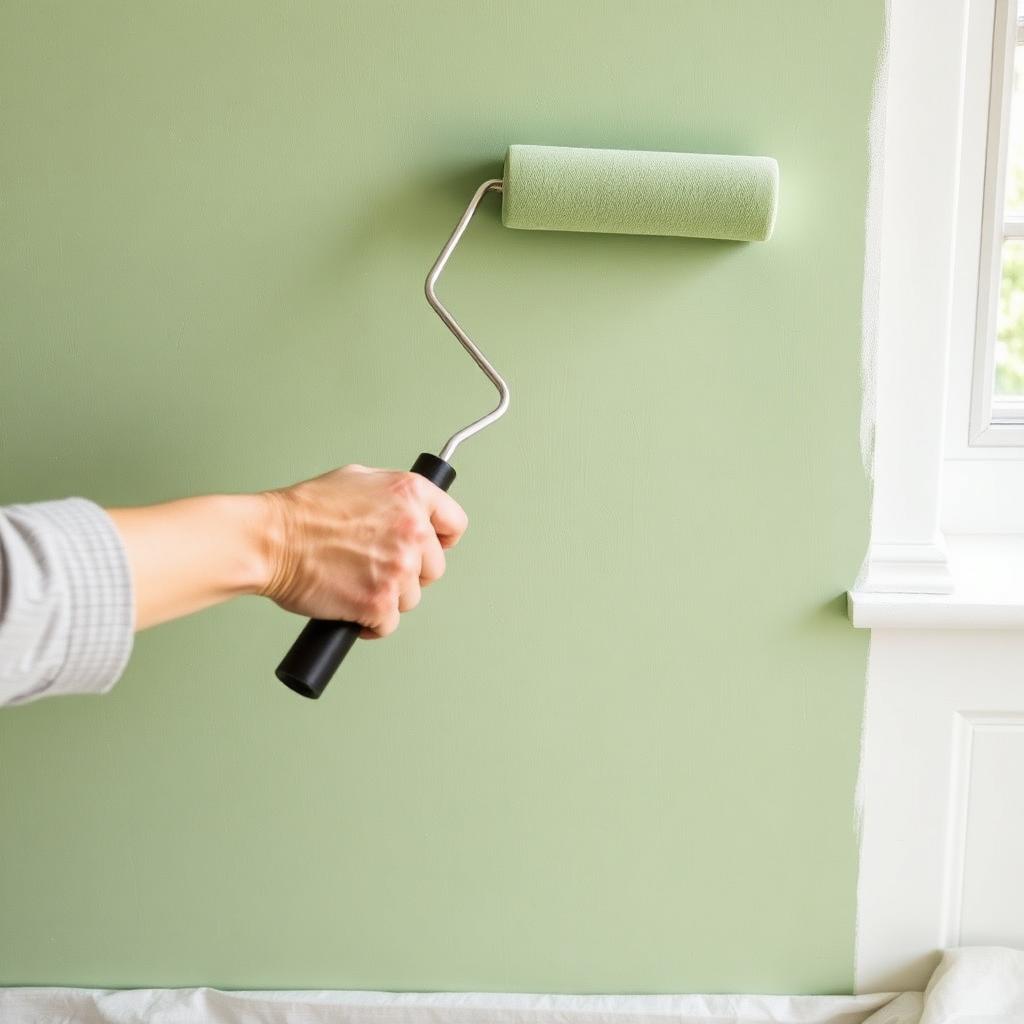
7. Roller technique
Load the roller until it's saturated but not dripping. Roll a large "W" pattern about 3 feet wide, then fill it in with parallel strokes without reloading. Finish each section with light "laying-off" strokes in one direction to eliminate roller marks. Keep a wet edge — always overlap the previous section while it's still wet, or you'll see lap marks when it dries.
8. Two thin coats, not one thick
The single most common DIY mistake: laying on paint too thick. Thick coats sag, dry unevenly, and hide roller texture badly. Two thin coats always look better than one thick one, and modern paints are formulated for it. Wait the full recommended dry time between coats (usually 2–4 hours) — recoating too soon lifts the first coat.
9. Match sheen to room
Matte hides wall imperfections and looks premium but scuffs easily — best for ceilings and low-traffic bedrooms. Eggshell is the workhorse for living rooms and bedrooms. Satin for kitchens, bathrooms, and kids' rooms (wipeable). Semi-gloss for trim and doors. Full gloss for cabinets only. Wrong sheen = wrong look, even with perfect application.
10. Buy one great brush
A $25 Purdy or Wooster angled sash brush will paint your entire house better than a bag of $5 brushes and last for decades if you clean it. Cheap brushes lose bristles into the paint and lay down streaky lines. This is not the tool to save money on.
11. Store paint overnight between coats
Wrap the roller and brush tightly in plastic wrap or a plastic bag and put in the fridge overnight. They'll be ready to use the next day with no cleaning. This trick alone saves 20 minutes of cleanup per coat.
12. Cleanup that saves tools
Clean latex brushes and rollers with warm water and a small amount of dish soap immediately after finishing. Comb bristles back into shape and hang the brush to dry (never store on the bristles). Store rollers standing on end. A well-cleaned brush works better on job 20 than a new one does on job 1.
Choosing colors that actually work
Paint colors look 30% more saturated on a wall than on a paint chip. Test with real sample pots on the walls that get the most different light, and live with them for two full days. What looks perfect at the store almost never looks the same at home — the room's existing light, floors, and furniture change the color completely.
Frequently asked questions
- How much paint do I need?
- One gallon covers about 350 square feet in one coat. For an average 12×12 room with 8-foot ceilings you need 2 gallons for two coats.
- Do I need to prime before painting?
- Not for same-color repaints on clean walls. Yes for dark-to-light changes, raw drywall or wood, and stained areas.
- Should I paint the trim or the walls first?
- Pros paint trim first, then walls — it's faster to cut in wall paint against dry trim than the reverse.
Frequently asked questions
- How much paint do I need?
- One gallon covers ~350 sq ft; a 12×12 room typically needs 2 gallons for two coats.
- Do I need to prime?
- Not for same-color repaints on clean walls. Yes for color changes, raw drywall, and stains.
- Trim or walls first?
- Pros paint trim first, then walls — cutting in wall paint against dry trim is faster.